
Hat // Sweater // Leggings // Boots
Ah, the never-ending chase of getting that “content.” To be totally honest, I cringe a little nowadays when I hear that word! I feel like in the large scheme of things sometimes it can feel a little silly to be worrying about a ‘cohesive feed’ and I’ve shared so many times before that I’m a big believer in posting what makes you feel good, and that authenticity is key in this Instagram world we all live in. But the truth is, sometimes you just want a pretty feed! And there’s nothing wrong with that! I’ve had a ton of questions lately on Instagram tips + tricks for curating feeds, so I figured I’d wrap up all my ideas into this post as a big resource for anyone looking to improve their Instagram page.
First, I’ll start by saying that I’ll do my best to include tips and tools that are mostly free to use. There’s nothing I hate more than seeing these types of posts and seeing bloggers/influencers sharing only to plug $200+ presets they’re selling. So don’t worry- I’m not making a penny off of this post- just want to help out my internet friends!
That said, presets can seriously work some major magic on your feed, if you get one that works well for you and you use it consistently. There are a few that I use on all my photos, and that’s how I get the look of overall cohesiveness. However, since presets aren’t a size one fits all, I try to get a few that I love that have the same overall tones, and depending on what works on what photo, I’ll use a different one if I need to.
Presets, presets, presets
Purchasing presets were the best thing I ever did for my feed- truly. For everyone that asks me the question about having a pretty feed that’s cohesive, this is the first thing I tell them! There are a ton of really awesome presets out there, but I want to heed you with this warning: there are a LOT of bad ones. If at all possible, you should try them out before purchasing. A lot of content creators who sell presets will actually allow you to send them a photo via email to get edited, so you can see what it’d look like on your photos.
The one thing to know, though, is that presets are not a size one fits all! A lot of the presets I’ve purchased are made by bloggers that are different than me in skin tone and hair color. This can seriously affect the way your photos come out. For example, a preset made for a blonde girl typically doesn’t look good on me without at least a bit of tweaking. Also, depending on skin tone, some presets can make my skin look oompa loompa orange- no joke. I can’t even tell you how many times I’m on IG and notice girls that slap on a preset with no editing, and their faces are straight up orange as heck.
**Edit: A few of y’all have asked how to fix this issue! It’s a super quick fix that just requires a little bit of tweaking. The easiest way is to just bring down the saturation, and increase the luminance on the orange color in your HSL/Color tab on Lightroom. Ta-da! All done.
There are a few easy tweaks that you can make here in Lightroom, but it does require a tiny bit of knowledge about how to use LR. So just know before purchasing that it’ll require a bit of editing!
What I’ve typically done is purchased presets, edited them on a few of my photos to get them just right for my shooting style + my skin/hair colors, and save them as new presets in my own desktop.
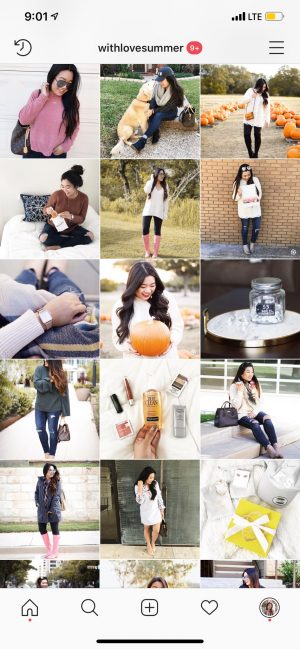
Just to provide context, here’s a side by side of what my feed looks like before (right)/after (left) using presets.

Plan it out
Content scheduling has been a big player for me in improving my Instagram too! It serves a few purposes. The first is feed-mapping, obviously. By mapping out your posts, you can have an idea of what photos look like next to each other. For example, I typically try to avoid two photos with the same background next to each other, for variety sake. Also, it’s a great tool for making sure your colors are evenly dispersed.
Two of my favorite apps for content scheduling are Planoly and Unum. I personally use Planoly regularly, but have used Unum before and think it’s a great tool. I’ve also heard great things about the Later app!
All about them angles
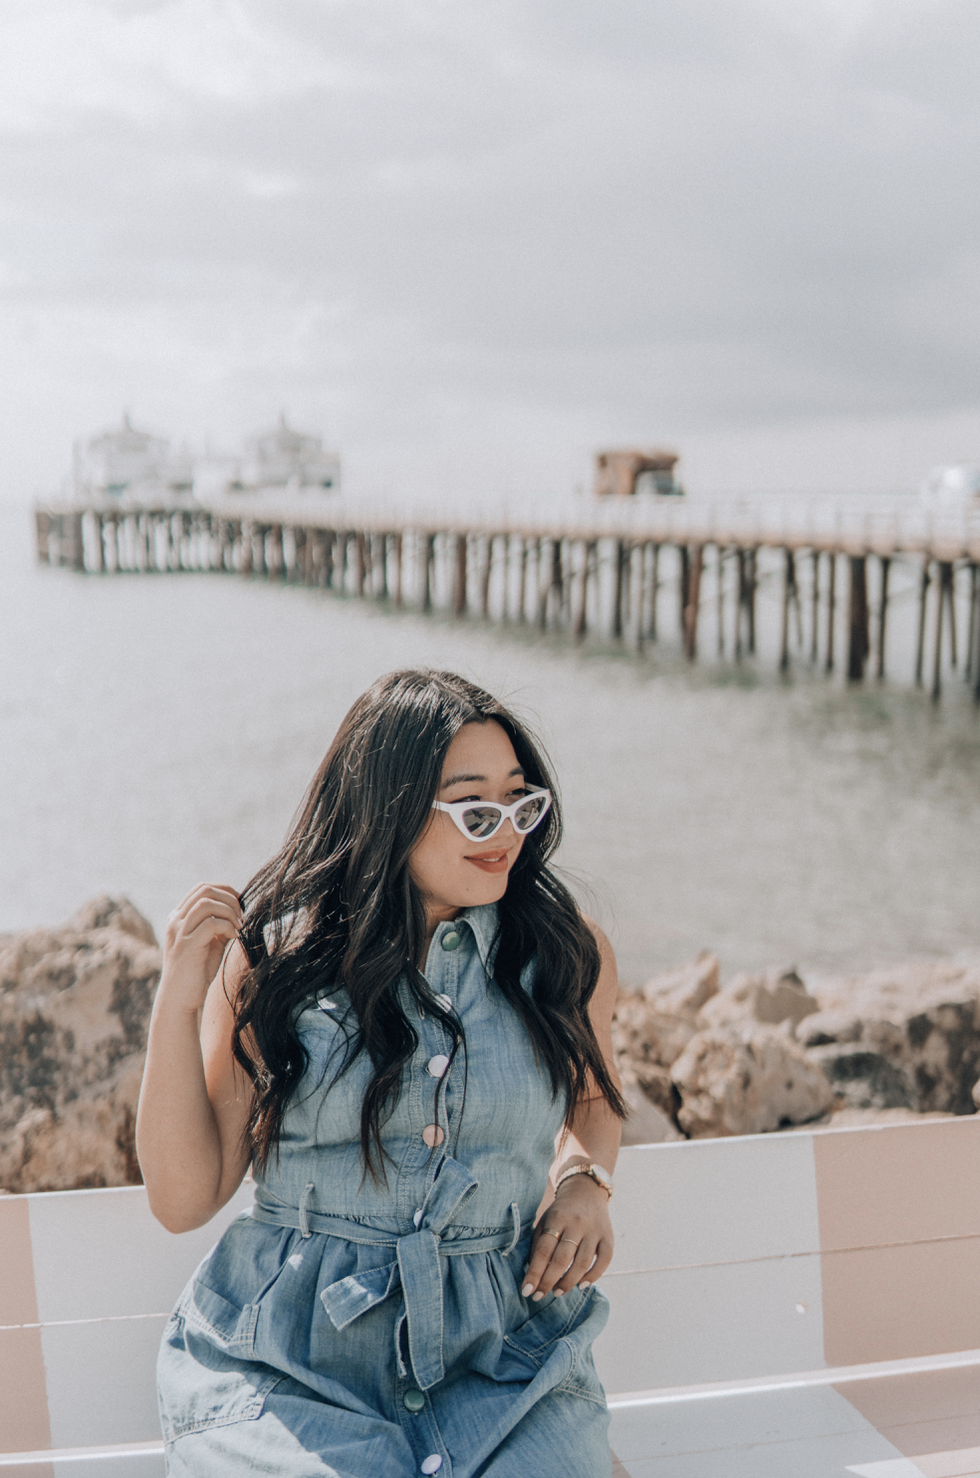
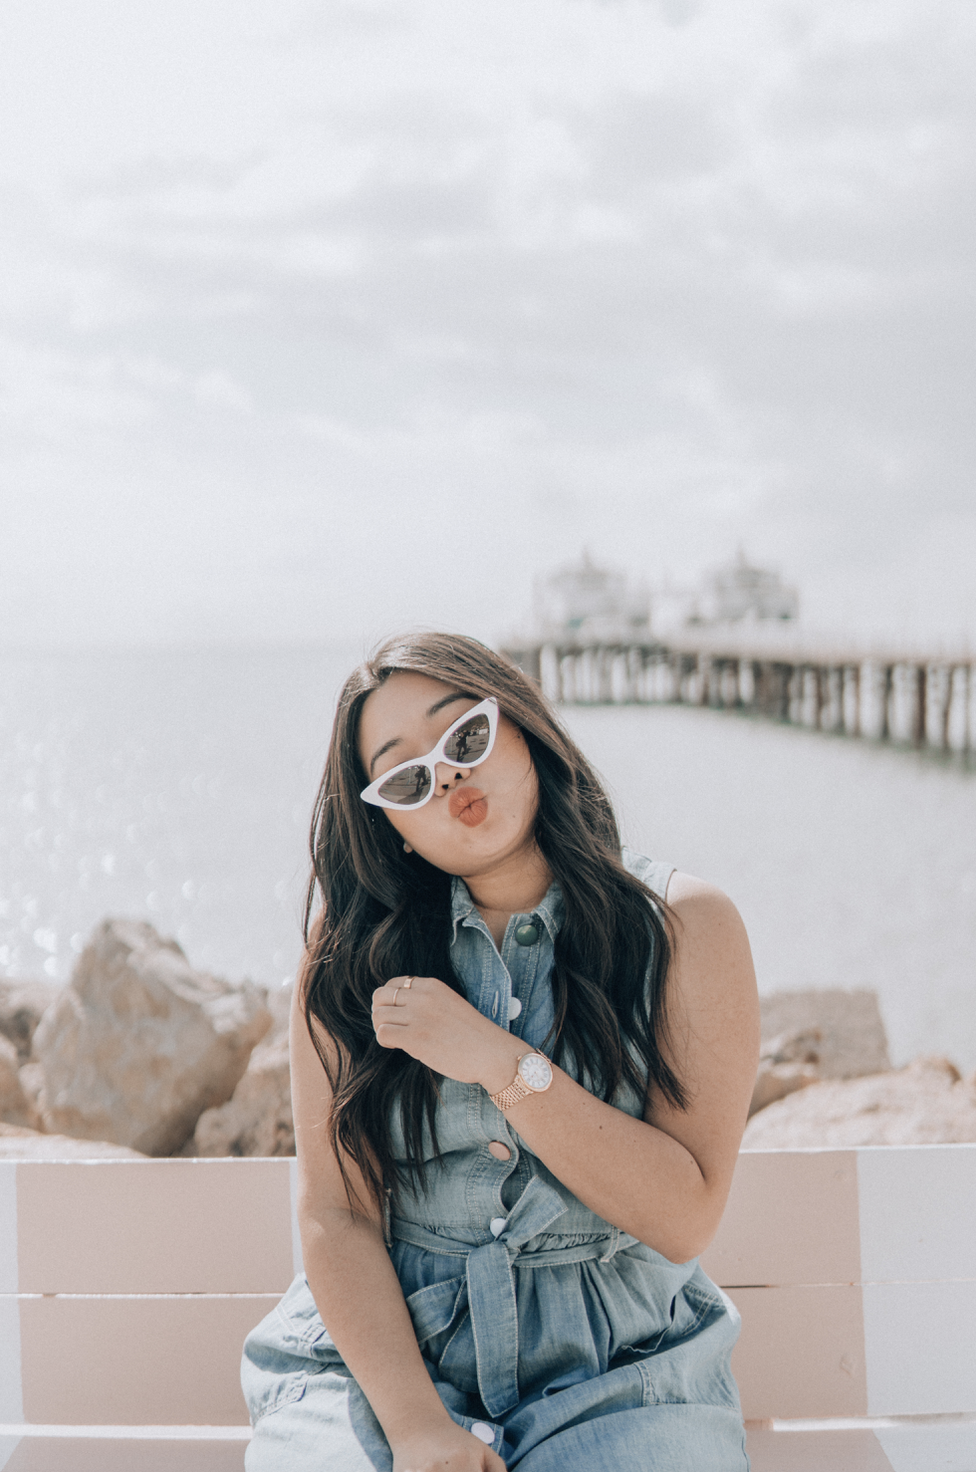
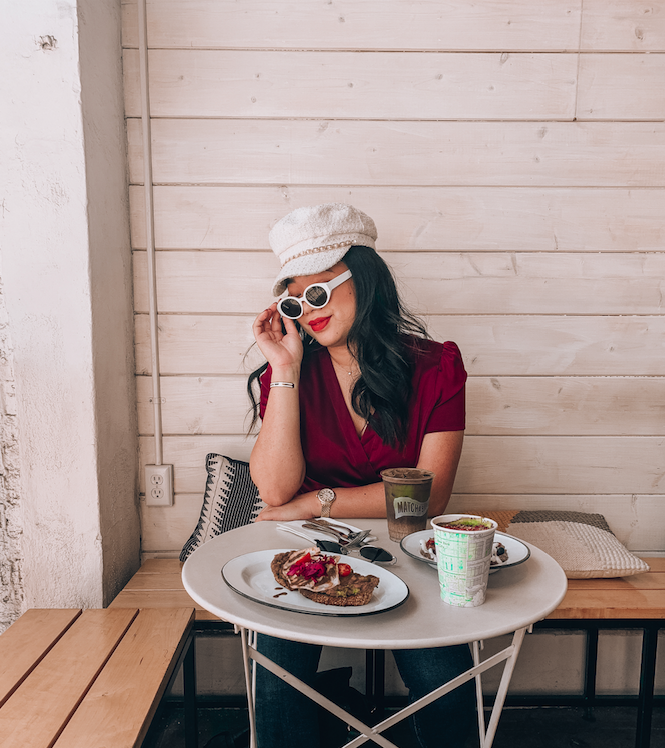
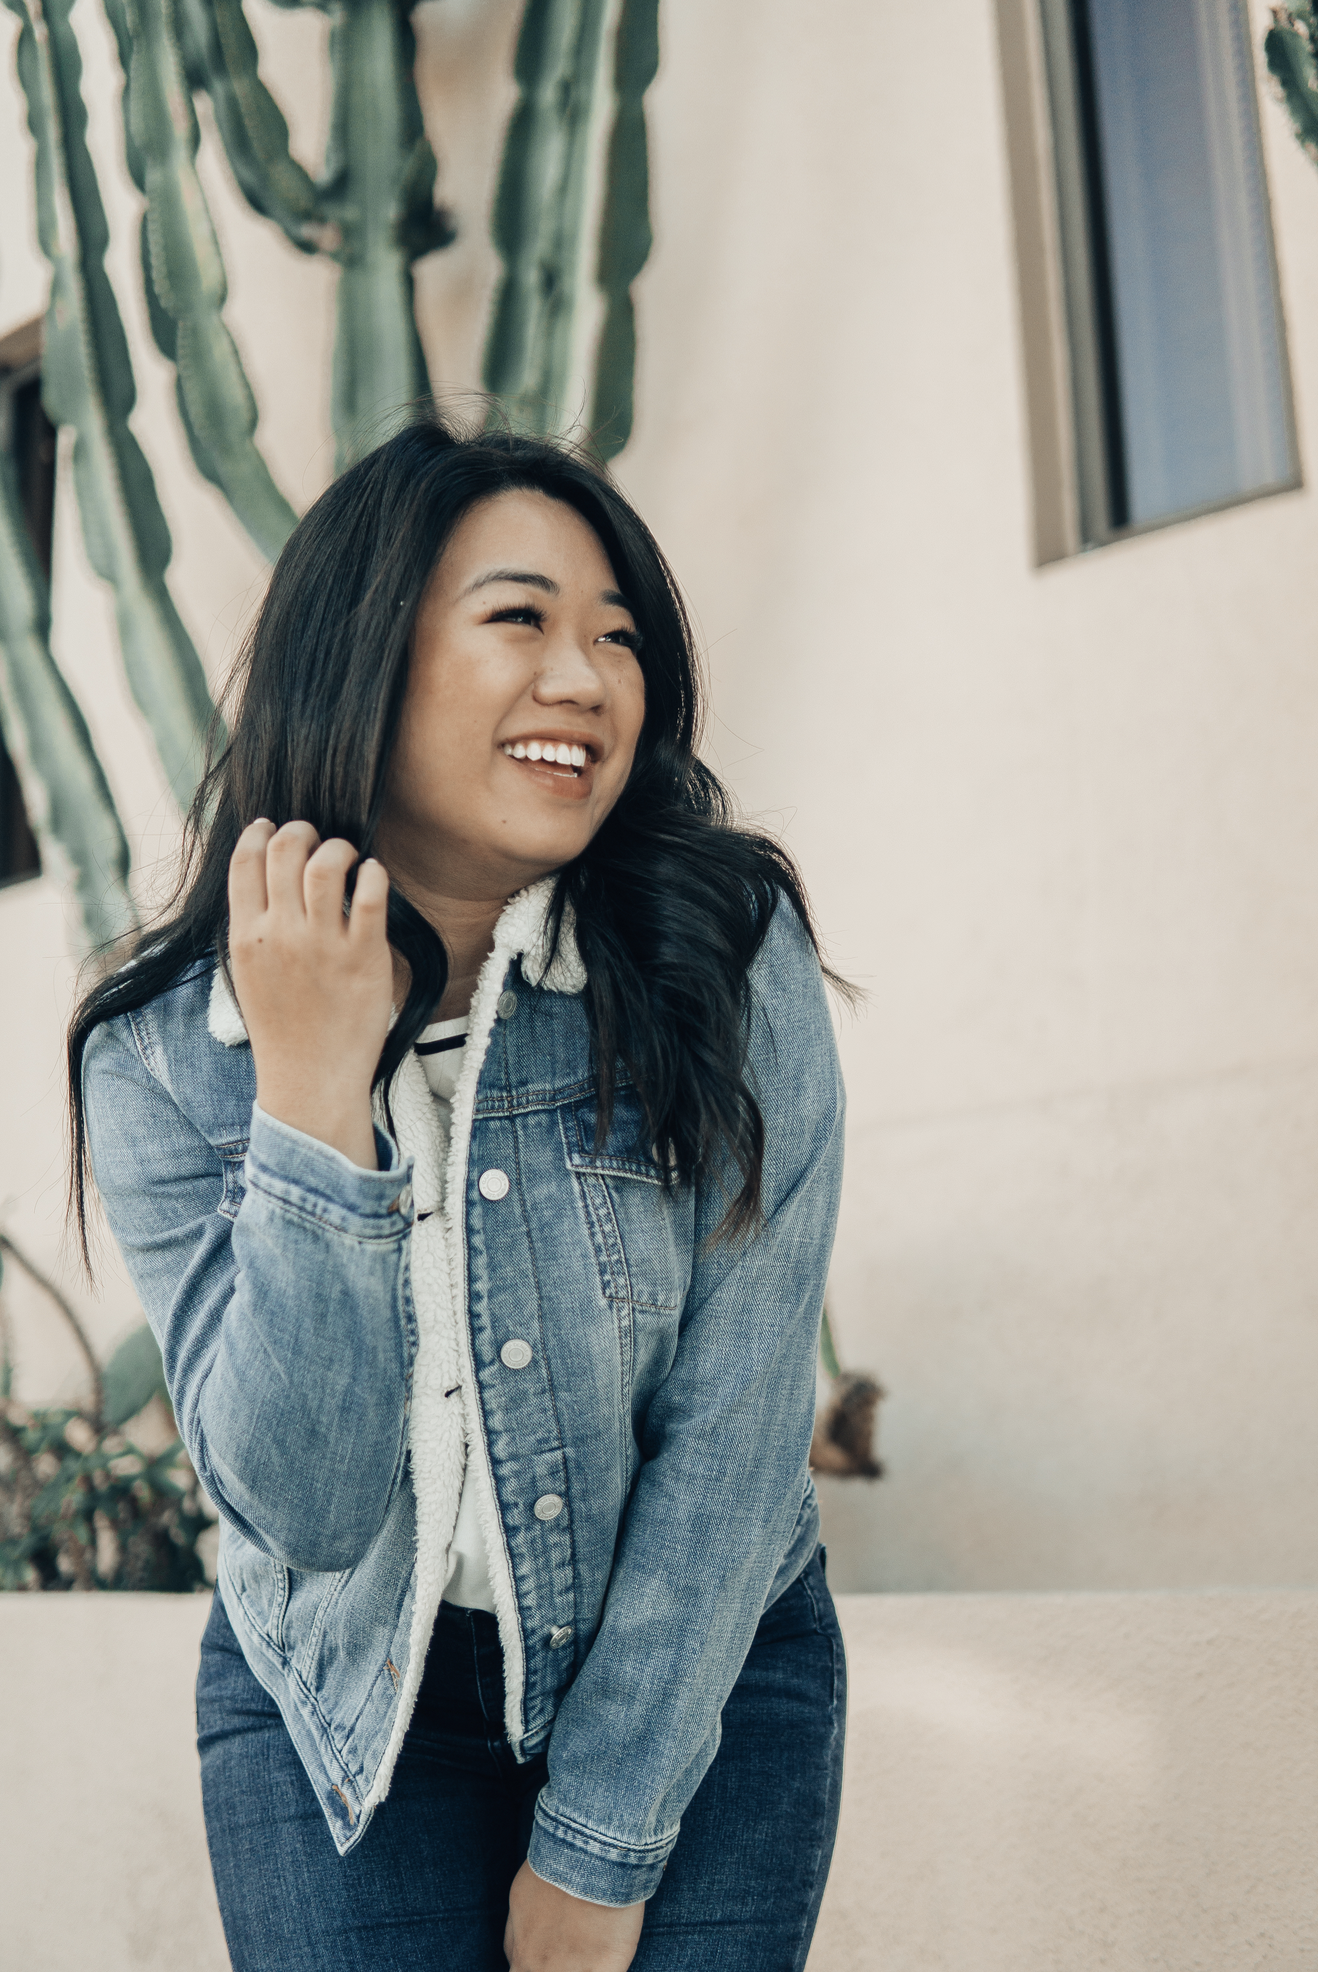
For the longest time, I used to shoot with the same angles for everything. Sure, it made things quick and easy to shoot, but it makes for a pretty boring feed! I love throwing in some movement, like walking, skipping, twirling, swinging a bag, tossed hair, swinging dress… you get the gist.
Play with some new poses! It might feel silly while you’re shooting, but some of my favorite photos that I’ve taken were unexpected.
Upgrade your gear, girl!
Sometimes it just comes down to making sure you have the right equipment for the looks you need. It’s really all just personal preference! I typically go for more stylized shots, and lean towards high quality photos with blurry backgrounds to make sure whatever the subject in the photo is is focused. I have a post all about my camera gear here if you’re curious about what I shoot with.
Camera gear can sometimes be absurdly expensive, but if you want to have high quality photos, sometimes that means taking the plunge and upgrading your equipment. iPhone photos nowadays though, sometimes are just as good as snapping photos on a DSLR/digital camera! For me, I’ve found that the key to a bomb iPhone photo is all about the perfect lighting. Typically, shooting in shade works best with an iPhone, but sometimes you can get a great shot in direct sun. I’m by no means a photographer/expert, but these are the tips that have worked for me!
A little tip for all my iPhone photographers- try adding to your lens! There are a bunch of lens attachments you can find on Amazon for super cheap, but they can make a world of a difference to your snaps. One of my favorites is using a wide angle lens (borderline fisheye) for travel photography. Especially when you’re out in nature, it can do wonders to the photo’s perspective.
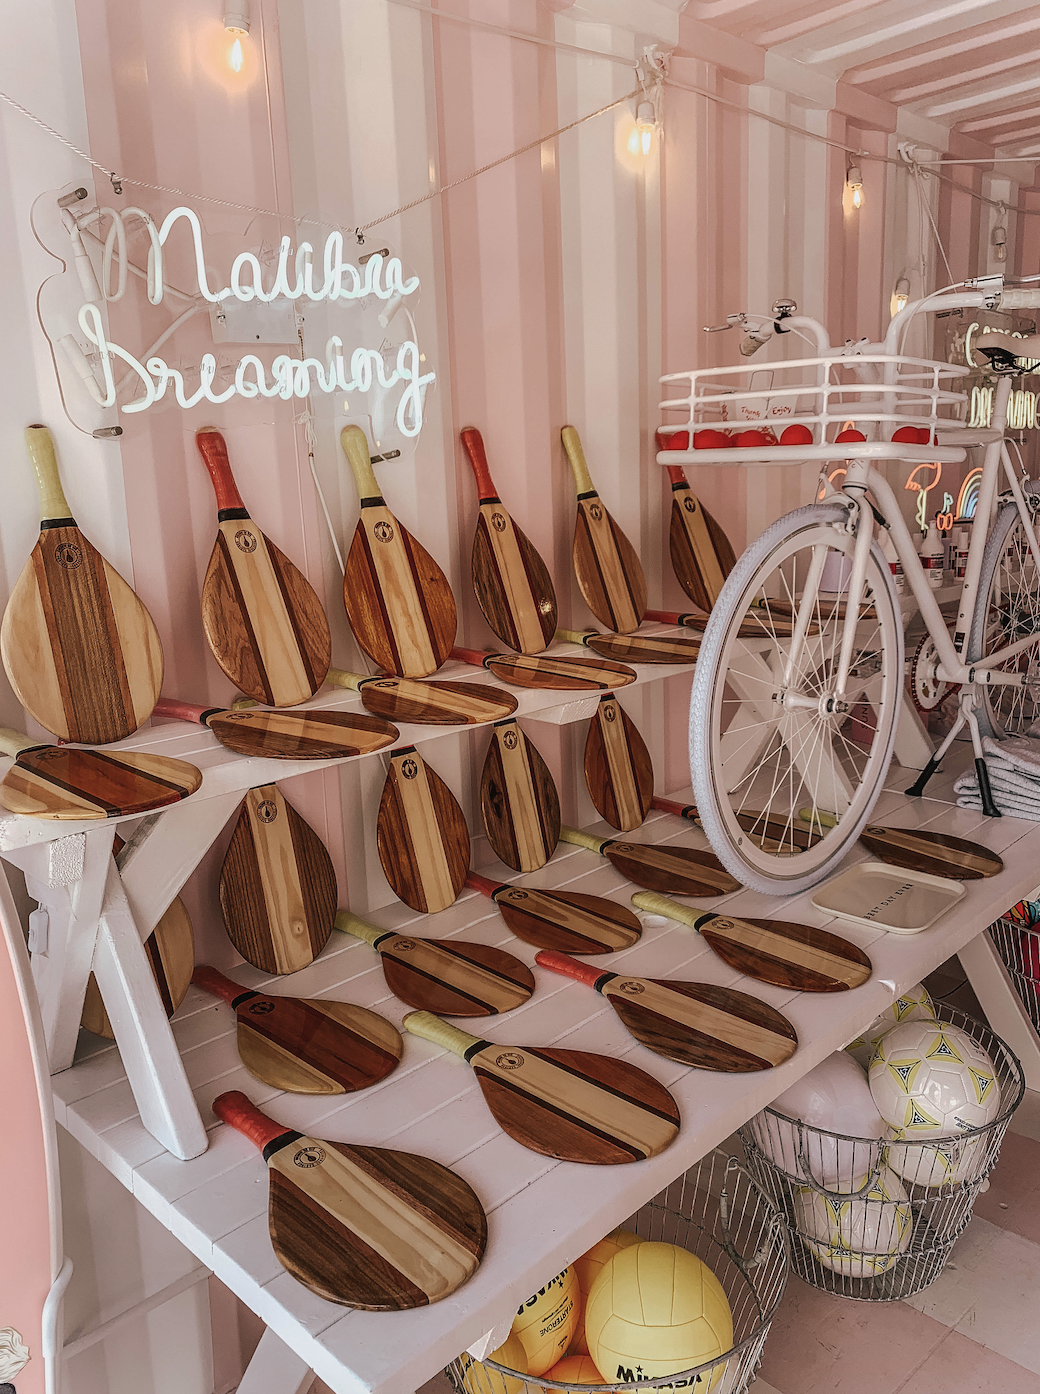
Keep your eye out for cute locations
I’m not talking about just typical wall murals. Some of my absolute favorite shots have been taken at locations without too many distractions. I love finding random streets, and wandering until we find a cute spot. Another thing to not here, is that if you want the blurriness in the background of your pictures, you never want to stand right in front of you backdrop. Create some space, so the lens can keep you in focus while having the background blurred out.
Hopefully this was even a little bit helpful- let me know if it was! I have a ton of tips on increasing engagement and growing an authentic following, too. If that’d be helpful, let me know and I’m happy to put it together for y’all!
All this said, I want to emphasize that we shouldn’t take Instagram so seriously! Share what you want- isn’t that the whole point? Have fun, y’all- let’s not forget that this should be fun!
Having a cohesive feed is honestly SO hard! It took me so long to figure it out and I’ll admit that I still don’t think I’m 100% there. Especially living in a place that snow covers the ground for half of the year, it’s like you have to edit for 2 separate feeds: your summer and your winter ones! Love these tips, Summer. I need to be better at getting different angles!
xx Victoria
http://www.thevicversion.com